
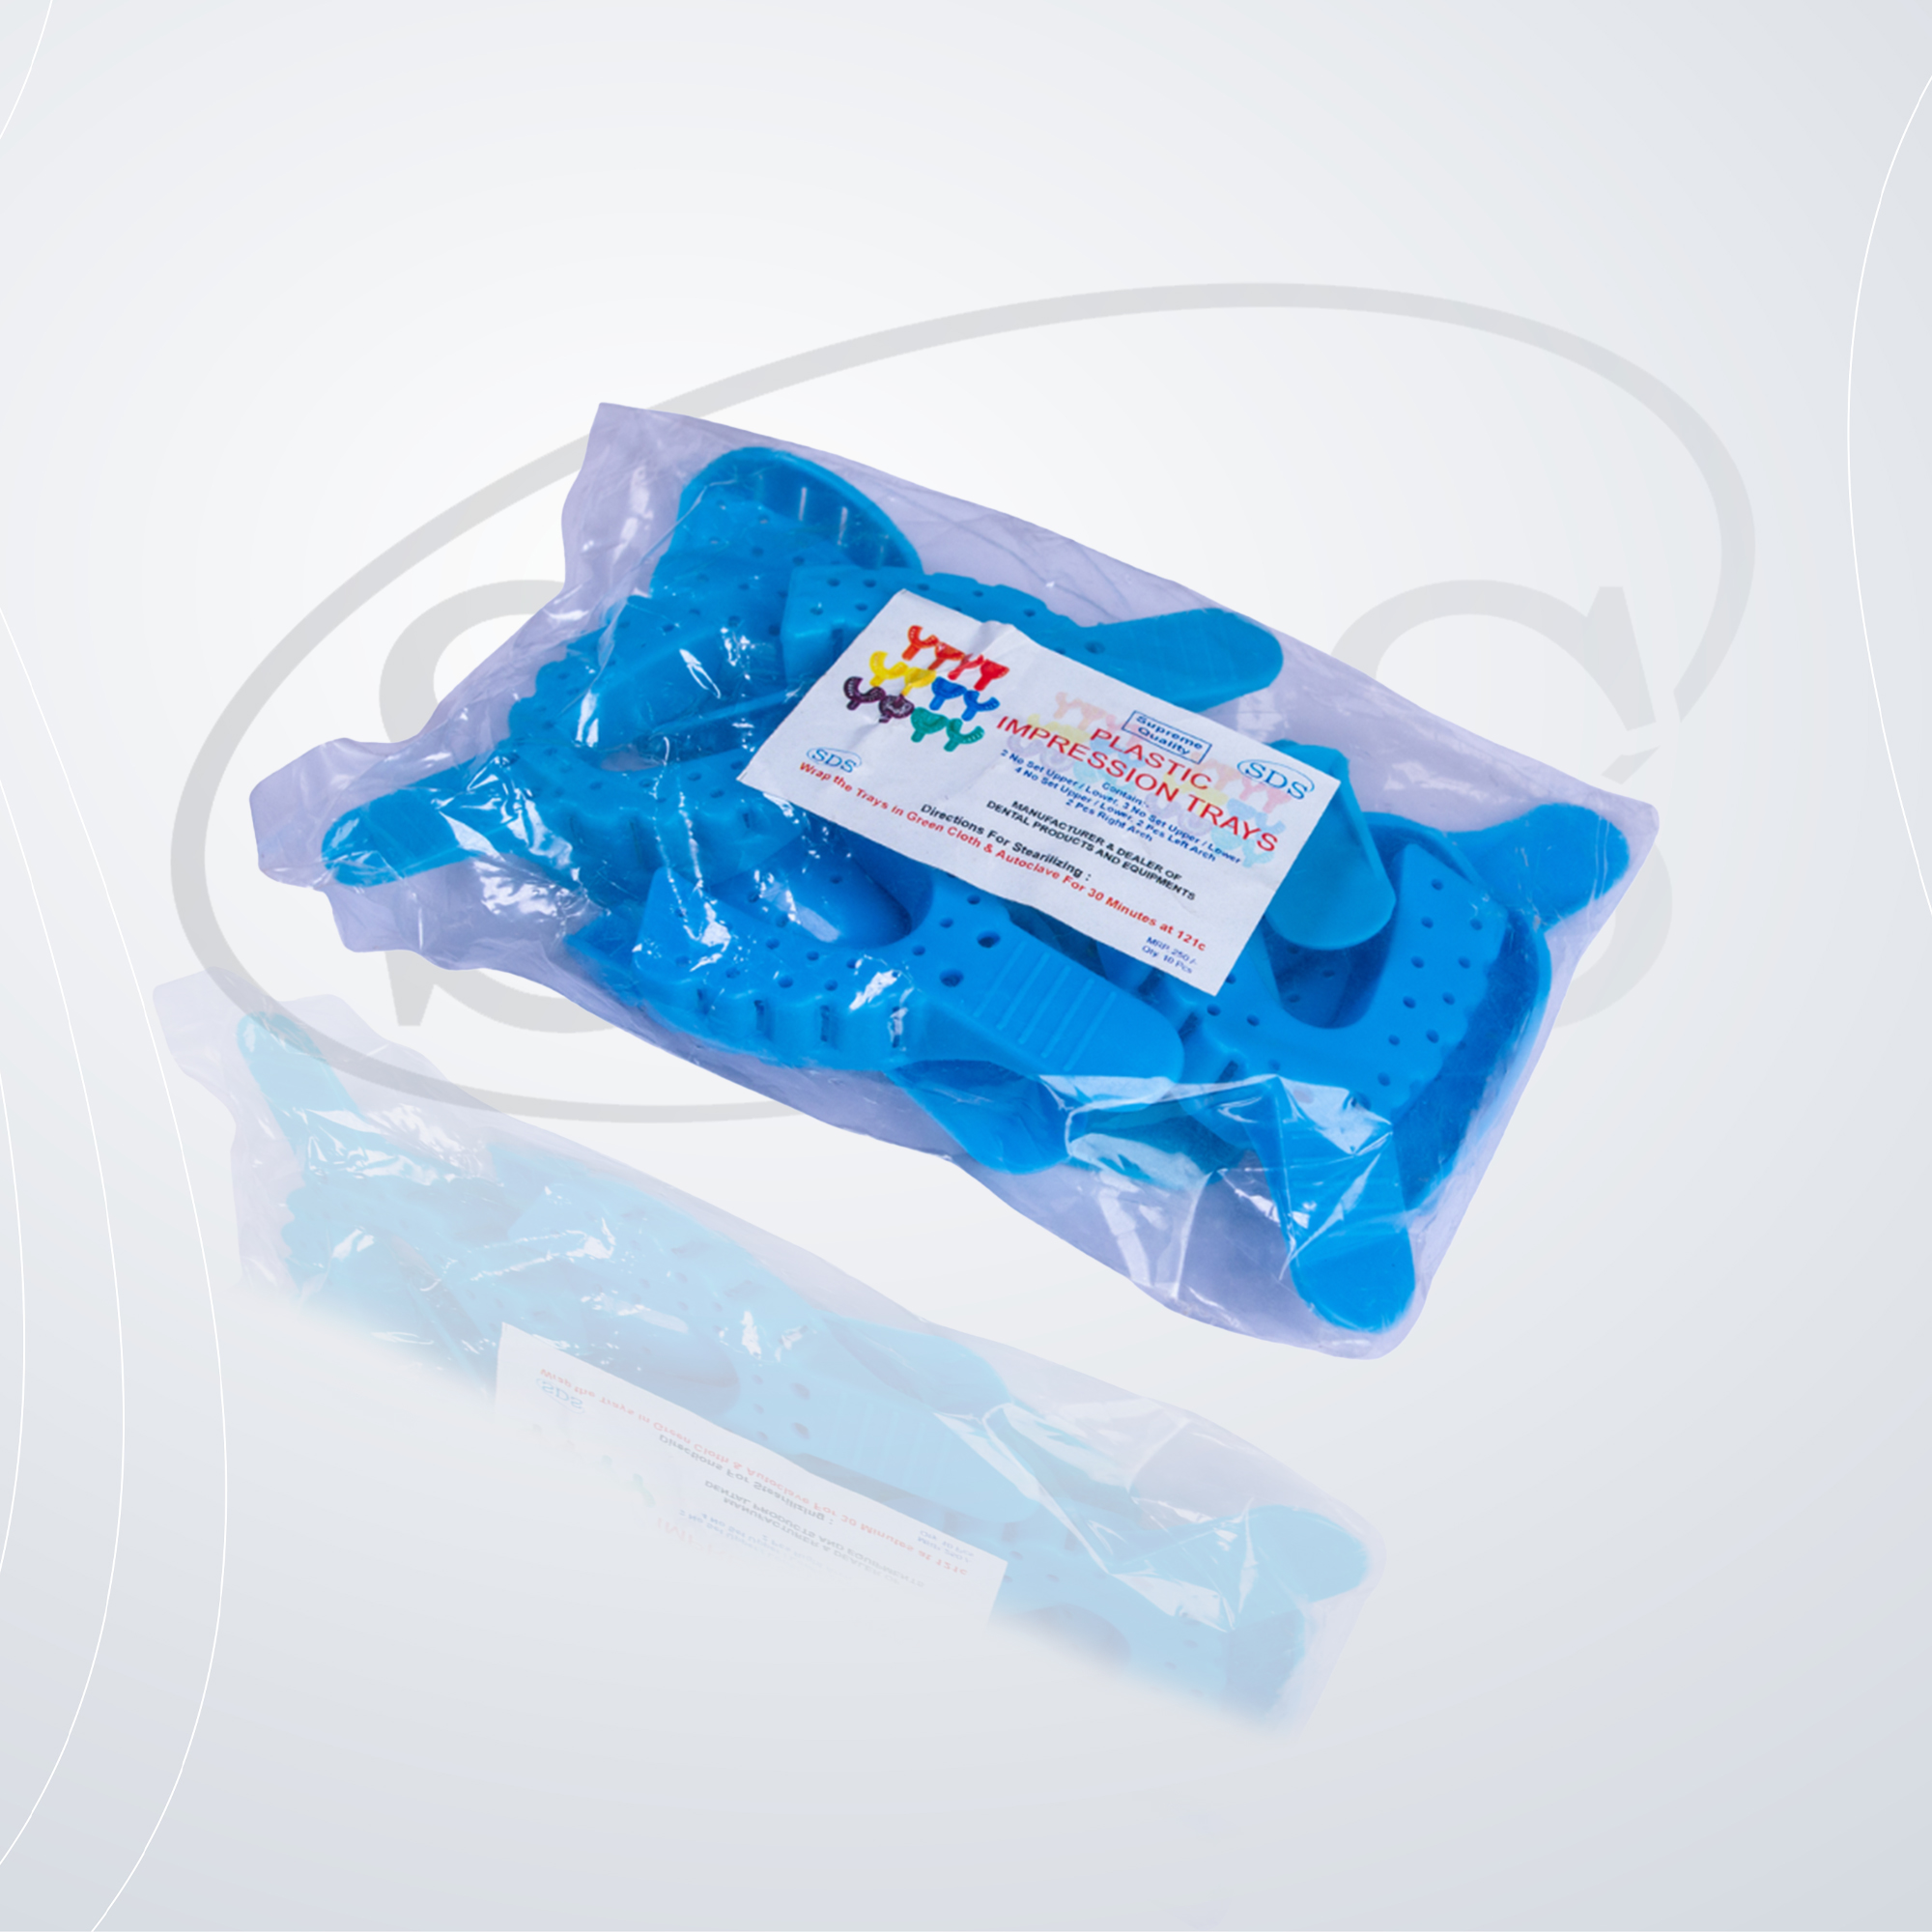
IMPRESSION TRAY PLASTIC
by SDS ENDO
- Sold by SDS Endo
- GST included in price
- Order on AmritSmile or the SDS Endo website
About this product
Impression tray set made of autoclavable plastic.
Description
The SDS Plastic Impression Tray is a high-quality reusable dental tray designed for accurate and distortion-free impression taking in dentulous cases. Manufactured from strong, rigid plastic, it provides excellent structural stability during impression procedures while ensuring patient comfort through its smooth rounded edges. The perforated design enhances retention of impression material, reducing the risk of distortion during removal. Its ergonomic handle allows easy insertion and removal, while the adaptable tray design accommodates a variety of arch forms, including maloccluded arches. Suitable for use with alginate and putty wash techniques, the SDS Plastic Impression Tray is an essential tool for precise prosthodontic and orthodontic impressions.
Key Features
• Strong Rigid Plastic Construction for distortion-free impression support • Excellent Perforations provide superior retention of impression material • Smooth Rounded Edges ensure enhanced patient comfort • Ergonomic Handle Design for easy insertion and removal • Adaptable Design accommodates maloccluded arches effectively • Trim-able and Adjustable for customization during procedures • Reusable & Autoclavable for repeated clinical use • Lightweight Design reduces patient discomfort and gag reflex
Technical Specifications
• Product Type: Dental Impression Tray • Material: High-Quality Plastic • Category: Prosthodontics / Orthodontics • Usage Type: Reusable • Sterility: Non-Sterile • Autoclavable: Up to 121°C • Application: Dentulous Impression Procedures
Applications / Indications
• Recording dentulous impressions • Alginate impression procedures • Putty wash impression technique • Prosthodontic impressions • Orthodontic impressions
Directions for Use
1. Select Appropriate Size Choose the tray size according to the patient’s arch dimensions for proper fit. 2. Sterilize Before Use Clean and sterilize the tray before every procedure as per standard protocol. 3. Prepare Impression Material Mix alginate or putty impression material according to manufacturer instructions. 4. Load Tray Fill the tray evenly with impression material, ensuring perforations are adequately covered. 5. Insert Tray Position tray gently in the patient’s mouth and align properly with the dental arch. 6. Hold Until Set Maintain steady pressure until the impression material fully sets. 7. Remove Carefully Remove using a gentle rocking motion to prevent distortion. 8. Post-Use Care Clean thoroughly and sterilize before next use.
PACKAGING
• 1 x Large Upper • 1 x Large Lower • 1 x Medium Upper • 1 x Medium Lower • 1 x Small Upper • 1 x Small Lower • 1 x Half Partial UL/LR • 1 x Half Partial UR/LL • 1 x Anterior Upper • 1 x Anterior Lower